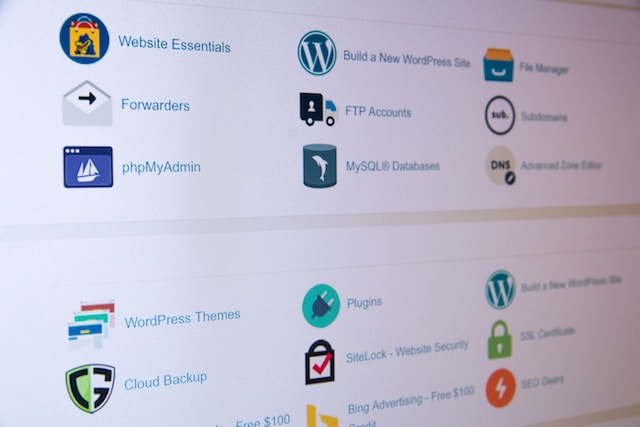
Are you planning a WordPress migration but worried it’s too complicated? Relax—moving your WordPress site to a new host is easier than you think. Whether you’re switching to a faster WordPress host or looking for the best cheap WordPress hosting, this guide will walk you through every step.
What Is WordPress Migration?
In simple terms, WordPress migration is the process of moving your website from one hosting provider to another. This could include transferring your files, database, and domain to a new WordPress host.
Common reasons for migrating include:
- Slow Hosting Speeds: Upgrading to a host with faster servers.
- Cost-Effective Hosting: Switching to the best cheap WordPress hosting to save money.
- Better Features: Moving to a provider that offers additional tools and support.
How to Migrate WordPress Site to a New Host
Migrating your WordPress site doesn’t have to be stressful. Follow these simple steps to ensure a smooth transition.
1. Choose a New Host
Start by selecting a reliable hosting provider. Look for options that offer:
- Affordable Pricing: The best cheap WordPress hosting plans typically start around $2.95/month.
- Free Migration Services: Some hosts, like Bluehost and SiteGround, offer free website migration.
- 24/7 Support: Make sure your new host provides excellent customer support.
2. Back Up Your Website
Before you do anything, create a backup of your website. Use plugins like:
- UpdraftPlus
- All-in-One WP Migration
- BackupBuddy
A backup ensures you can restore your site if anything goes wrong during the process.
3. Export Your Website Files
Download your WordPress files from the current host using a file manager or an FTP client like FileZilla. Be sure to copy the wp-content folder, as it contains all your themes, plugins, and uploads.
4. Export Your Database
Access your host’s control panel and use phpMyAdmin to export your database. This is where all your website’s content and settings are stored.
5. Upload Files to the New Host
Once you’ve set up your account with the new WordPress host, upload your website files via FTP.
6. Import Your Database
In the new host’s control panel, create a new database and user. Then, use phpMyAdmin to import the database you exported earlier.
7. Update wp-config.php
Edit your wp-config.php file to match the database name, user, and password of the new host.
8. Point Your Domain to the New Host
Update your domain’s DNS settings to point to your new host’s servers. This step may take up to 48 hours to fully propagate.
Quick Comparison: Manual Migration vs. Plugins
| Method | Pros | Cons |
|---|---|---|
| Manual Migration | Full control over the process | Time-consuming, requires technical knowledge |
| Migration Plugins | Quick and easy (e.g., All-in-One WP Migration) | Some features may require premium versions |
Best WordPress Migration Plugins
If you want to simplify the process, consider using one of these popular plugins:
- All-in-One WP Migration: User-friendly and reliable.
- Duplicator: Great for both migration and backups.
- Migrate Guru: Free and ideal for large websites.
How Much Does WordPress Migration Cost?
The cost of WordPress migration varies depending on how you do it:
| Method | Cost |
|---|---|
| DIY (Manual) | Free (only hosting costs) |
| Plugins | Free to $100 (premium plugins) |
| Hosting Provider Service | Free to $150 (depends on host) |
If you choose the best cheap WordPress hosting, many providers offer free migration services, saving you both time and money.
Common Issues During WordPress Migration
Even with careful planning, you might encounter a few hiccups:
- Broken Links: Use a plugin like Better Search Replace to fix URLs.
- DNS Propagation Delay: Be patient—it can take up to 48 hours.
- File Upload Errors: Ensure all files and folders are uploaded correctly.
Why WordPress Migration Is Worth It
Switching to a better WordPress host can significantly improve your website’s performance and save you money. Whether you’re moving for speed, features, or cost, a WordPress migration ensures your website stays future-ready.
Tips for a Smooth WordPress Migration
- Test First: Use a staging environment to test your migrated site before going live.
- Keep Backups: Always keep a backup of your site during the migration process.
- Communicate with Your Host: Reach out to your new host’s support team if you face any issues.
Conclusion: Migrate Your WordPress Site with Confidence
A successful WordPress migration can feel like a fresh start for your website. Whether you’re searching for better performance or switching to the best cheap WordPress hosting, the process is manageable with the right tools and guidance.
Follow these steps, stay patient, and soon your website will be live on its new home! Ready to migrate your site? Let us know in the comments below! 😊


